Wednesday, January 25, 2012

New Cleaning Closet

Besides the kitchen I spend most of my time in our utility room. It is also the room I have liked the least in this house. It is our catch all. Anything that needs to be taken outside or find a home ends up in here somewhere. Since we bought our house in 2006 we have made some major changes. The way I see it is if I have to spend time in there I might as well like it. So, here are some before and after pics and our most recent upgrade.
This is what it looked like when we bought it. The time stamp is wrong on the pic. Isn't it UGLY!? The curtains came with the house, lucky me! Those were the first to go.

Here's the most recent (today) pic. Lil man had to be in the pic of course. We painted and added a border and a ceiling fan. It made the room so much brighter.

     We uncovered a window and added tons of shelving. This house had no storage at all. When you live in a 1100 sq ft, 2 BR house you need all the storage you can get. I have been saving diaper and wipe boxes for storage and they will soon be getting a makeovers courtesy of pinterest. We still want to replace the vinyl flooring. Also, my handy husband is going to build me risers for my washer and dryer so, I can get rid of the sorting hamper and have more room. The cabinet by lil man is our pantry and it will be torn out and that whole corner will be turned into lockers. This room has really come a LONG way and there are just a few projects left to make it my dream utility room.

I want to replace this with a custom built pantry cabinet that goes to the ceiling. I don't want any wasted space. This is just our catch all for now. This is the best it's looked in a long time.

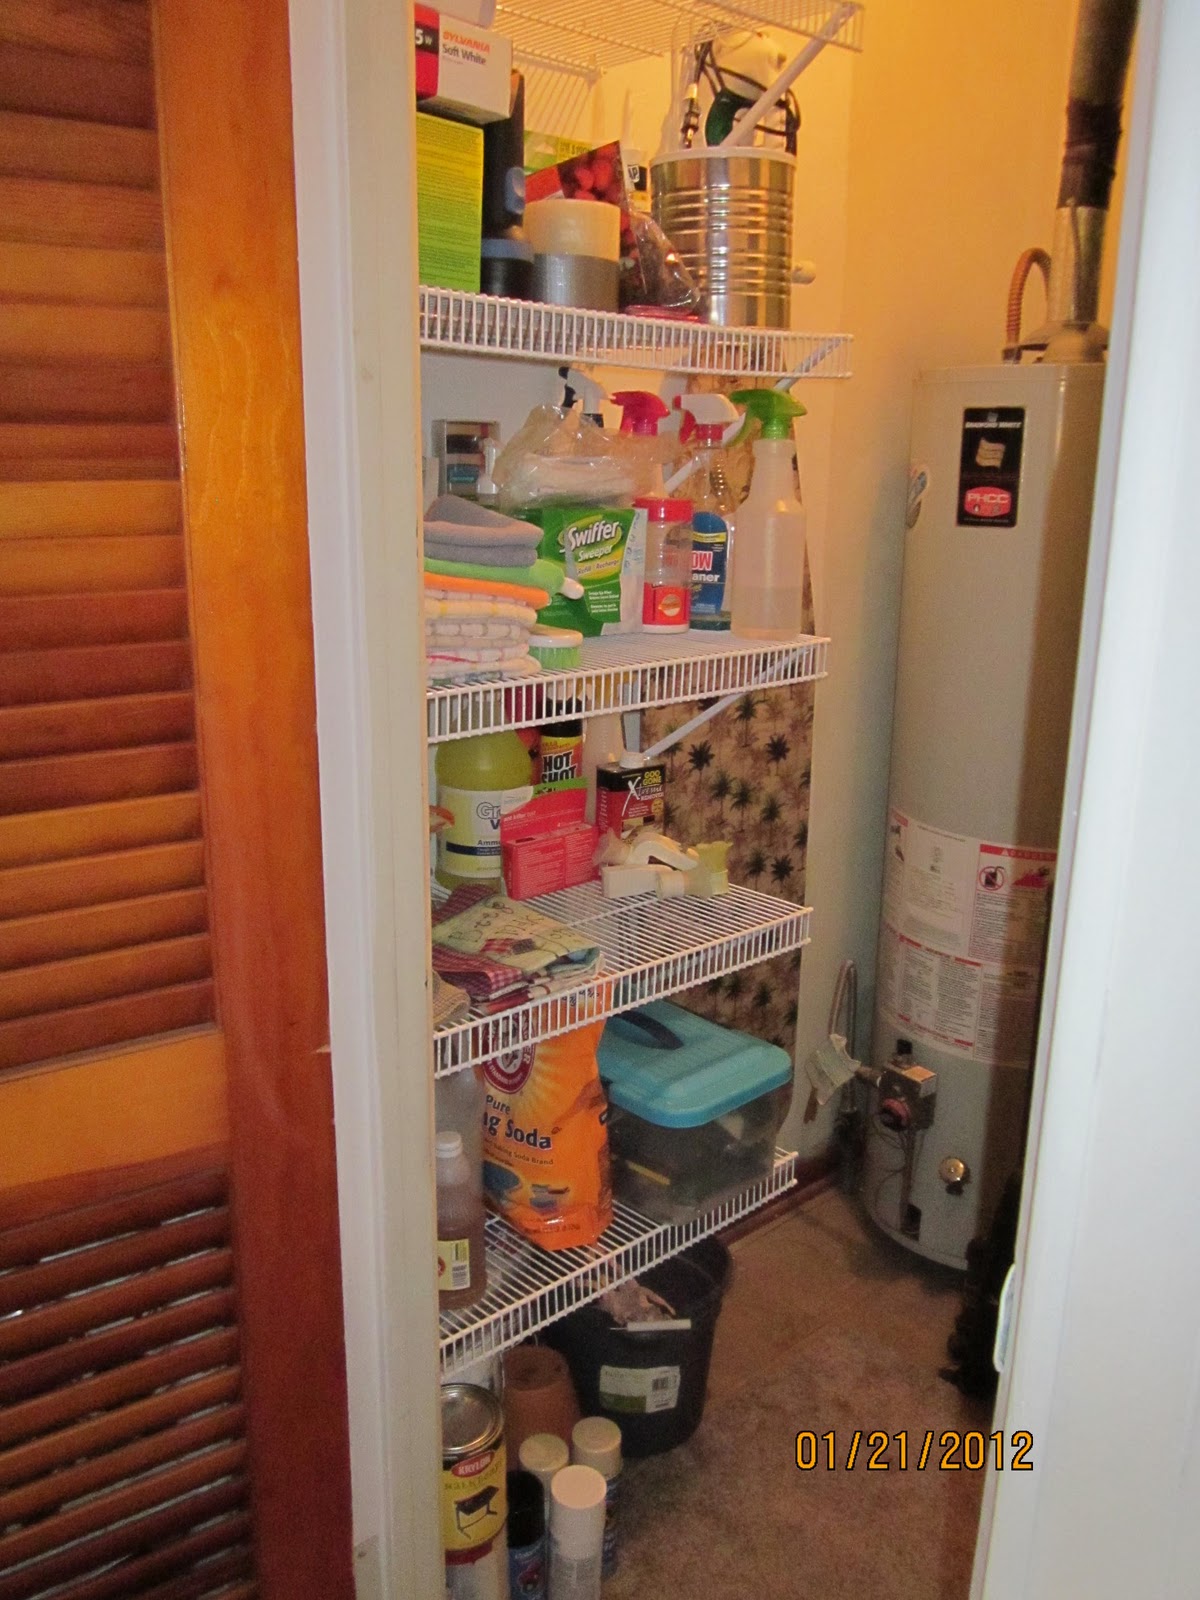
Here's the before of our most recent project; the cleaning closet. I can't believe I'm posting these. It's a disaster. I was always tripping over everything in there.

This cabinet contained a little bit of everything!

Here's a view from the inside. Not much space in there.

All the junk that didn't fit

Lucky for me Menards had a shelving sale and I have a handy husband! Bless his heart he used his Christmas money to help a girl out. Secretly, I think he was just tired of hearing me complain about it. The project cost a total of $60. It was so worth it! You can see the floor!

I can now find everything. I'm going to get some cute lil plastic containers to group some of the items together and of course label them. What you can't see in the pic is that there actually is still an empty shelf on top. I'm going to store paper towels up there. I know we should go paperless but, they are one thing I haven't been able to sacrifice.

Look, I have a tool hanger for my mop, broom, and swiffer. It's AWESOME!

I actually enjoy going in there now. Before it was complete and utter dread. I'm happy to have one more project marked off the honey do list and so is my husband.

Saturday, January 21, 2012

Homemade Hand Soap

I'm just going to come out and admit it. I am a pinterest JUNKIE! There are some amazing things to be found there. If you'd like to see what I'm pinning you can click on the red button to the top left of the page.

I have been looking for even more ways to save our family money. One thing that everyone does (or I sure hope does) is wash their hands.

Hand soap refills cost about $4.00 and that gets you a half gallon of store brand soap. Name brand is even more expensive. I have really progressed in the hand soap area. Originally, I bought the individual soap dispensers each time I ran out of soap. I wish I could go back and smack my young self for wasting so much money!

Then, I get a little smarter and started to buy the refill and fill up the individual soap dispensers. About a year ago I came across this tutorial; http://www.infarrantlycreative.net/2010/03/homemade-foaming-hand-soap.html on how to make foaming hand soap from regular hand soap. Genius!! I had received foam soaps from bath and body works so when they ran out I added some of my refill soap to the bottom and then filled it the rest of the way with water. Shake it up and you are ready to roll.

Now, thanks to pinterest I have taken the next step in saving the MOST money on hand soap! I found a tutorial here; http://www.creativecaincabin.com/2011/03/diy-liquid-soap.html that makes 2 gallons of liquid hand soap for $1!!!!!! I checked out the tutorial to make sure it was something I could do easily. Remember your time is valuable too. This turned out to be the easiest thing ever to make. Plus, I am still going to use it to make foam soap so it will last even longer.

Homemade Hand Soap        This will yield 3/4 gallon of soap
Supplies Needed:
~ Big Stockpot or Pot (I bought a really cheap one from Walmart because I didn't want to use one I cook food in)
~ Whisk
~ Cheese Grater
~ 1 bar of Ivory soap
~ 4 cups Water
~ 8 cups Water


Pour 4 cups of water into the pot. Grate your Ivory and add it to the water. Turn the heat to high. Whisk until all soap is melted. Let cool completely. Then, add 8 cups water. Reheat and whisk until all melted again. Let cool completely and pour into storage containers.

That's it! I didn't do the full recipe because I don't have a big enough pot to hold 36 cups of water!

Total Cost was $0.33 for 3/4 gallon of soap vs $4.00 for 1/2 gallon of generic brand of hand soap.

Monday, January 2, 2012

1st Shopping Trip of 2012

It's 2012! I thought I would start things off right by actually blogging about my first trip of the new year. This girl has got to get better at this. I haven't blogged since the beginning of November. We are still enjoying family time so we went grocery shopping, out to eat, and then to see Alvin and the Chipmunks Chipwrecked. We went to County Market, CVS, Walgreens, and Staples. Here's how we did;
County Market: Oh how I love the Penny Pinchers and then I'm almost giddy when I have a Manufacturer Coupon to pair with it!
Bob Evan's Sausage (2) x $1.99= $3.98- $0.55MC-$0.35MC= $3.08 or $1.54/lb
Tomato Juice (2) x $0.88= $1.76 
Westpac Veggies (3) x $0.77-$0.35MC= $1.96 or $0.65 per bag
Red Gold Tomato Sauce (5) for $1.00
Yotastic Yogurt (4) x $0.25= $1.00
Total Spent with tax: $8.90 Total Saved: $12.94 or 60%

Walgreens:
I did 4 transactions and had the most pleasant cashier ever!! I love nice people!
1. Lichi Probiotic $9.99 get $9.99 RR back= FREE
Total $10.09 Savings: $13.00 got my $10RR

2. General Mills Cheerios 4/$10 - $2MC= 4/$8  get $3RR back
eos Lip Balm $2.99 get $2RR back
Used my $10RR from #1
Total: $1.29  Savings: $21.66 got $5RR back

3. Head and Shoulders 2/$9- $2MC  get $2RR back
filler: chocolate Santa $0.25
Used $2RR (made a rookie mistake and forgot about my other $3RR)
Total: $5.87 Savings: $7.32  got $2RR

4. Vick's DayQuil $5.99-$1MC
filler: chocolate Santa $0.25
Used $2RR
Total: $3.32  Savings: $6.34

Overall Total: $20.57  Total Savings: $48.32 or 58%
I have $3RR for my next trip. Still kicking myself for not using it this time.

CVS:
Puffs (3) x $0.99-$0.25 = $2.72
Dawn Dishsoap (2) x $0.99- $0.25MC-$0.50MC= $1.23
Used my $2 ECBs from my last trip
Total Spent: $2.28 Total Saved: $7.00 or 78%

Staples:
If you are a coupon printer then this is a deal for you!
Hammermill Copy Paper 500ct $5.99 get a $4.99 Easy Rebate
This makes the paper $1.00!!!
At the register you will pay $6.39 with tax
Then your rebate paperwork will print and all you have to do is fill it out and send it by mail or online. Your check will come in a few weeks and you don't have to use it at the store. They literally give you your money back. You couldn't ask for a better deal!

It was a great shopping day and I couldn't have asked for better helpers. If you are looking for a good family movie Chipwrecked was really cute!